One of the fastest ways to achieve a polished look is having manicured nails. There's nothing like polished and well-groomed nails to finish of your look no matter what occasion. As we stay home and wait for our next appointment at our go-to nail salons, here is the ultimate guide of giving yourself a professional manicure at home.
Note: These are tips for people with natural nails.
- Wash hands and prepare all materials on a flat surface. It’s recommended to have a paper towel or some old cloth that you don’t mind getting dirty with nail polish.
- Be in a well-ventilated area so that the nail polish smell doesn’t linger but avoid being in front of a fan. This causes air bubbles while nail polish is drying.
- Whether you have nail polish or not, use nail polish remover to have a clean canvas. Our favorite is the soy nail polish remover from Ella + Mila which includes lavender essential oil and Vitamins A, C & E. If you’re used to acetone nail polish remover, you will notice that it doesn’t dry out your nails and leaves a pleasant scent. Also, it’s recommended to wipe all nails first and let the nail polish remover soak each nail for at least 20-30 seconds. It makes removing nail polish so much easier and way less toxic.

Image by Polina Tankilevitch via Pexels
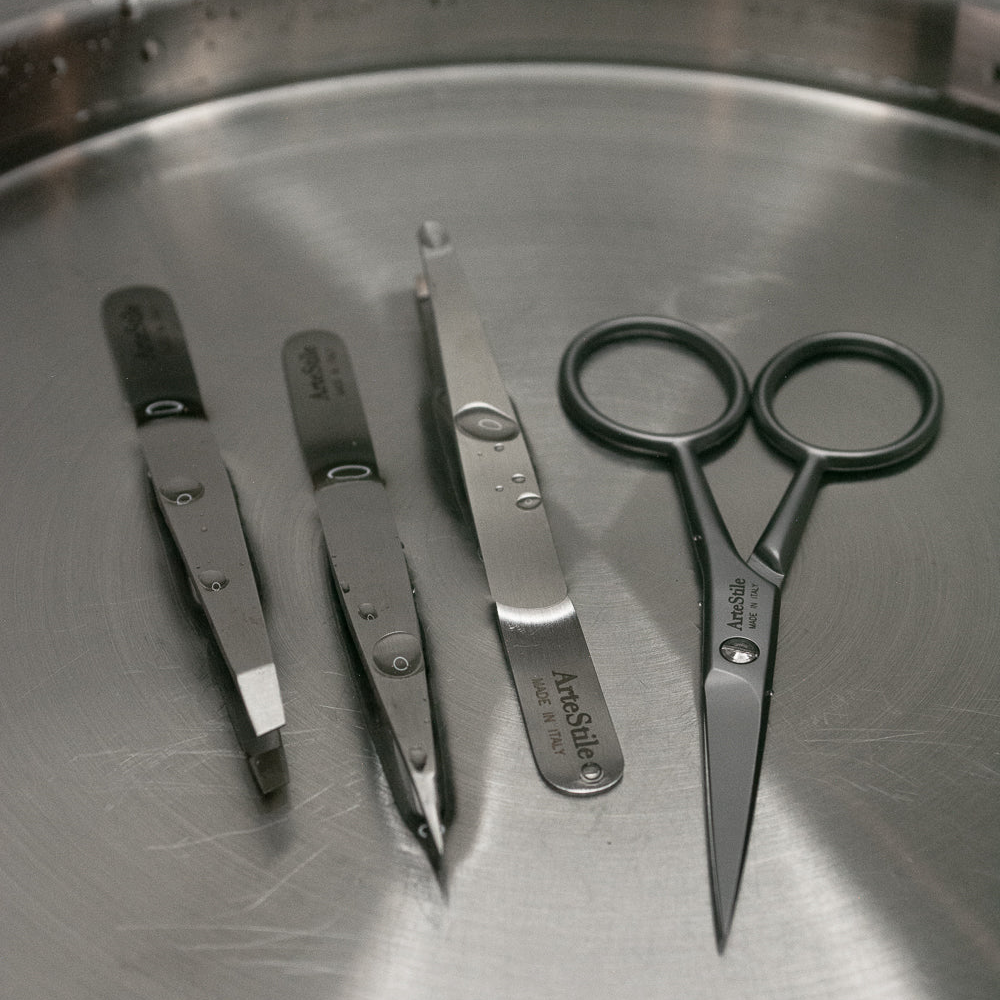
- Next, you would want to take care of your cuticles. The best way is to soften the skin by soaking your hands in warm water for a few minutes and use our cuticle nippers which is made of stainless steel in Italy and is ideal for all skin types. You can also use Sally Hansen’s instant cuticle remover gel which works within 15 seconds and you simply wipe the excess skin away. Then use a nail brush or old toothbrush to clean your nails.

- Next step is to use your favorite oil to moisturize your nails. You can use cuticle oil or argan oil whichever you have on hand and let that soak for about 5 minutes or longer, until the oil is fully absorbed into the skin. Try not to use oil all over your hands because it will make a whole mess and you will be washing your hands anyway.
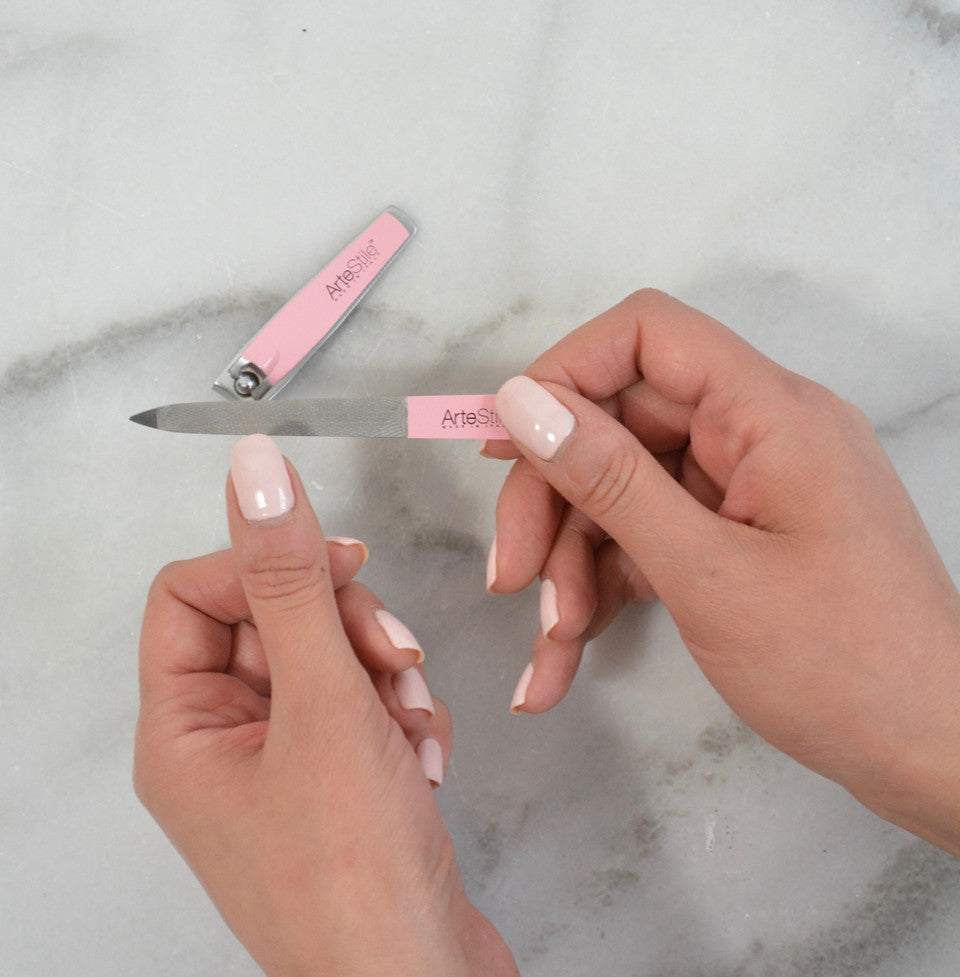
- Wash your hands to remove the excess oil. Not only does the oil moisturize your nail beds but it also preps the nails for nail filing. This will make the nails more pliable and bendy which ensures for a clean cut when using nail cutters.

- Depending on the integrity of your nails, you can apply one coat of nail hardener. It is infused with provitamin B5 and green tea to nourish your nails. Just be careful not to use it too often or it will make your nails prone to breakage. The goal is to have nails that have a good balance of strength and flexibility.
- Next, apply your favorite base coat and let it dry for about 5 minutes to ensure a good foundation for color.
- Then, apply your favorite color of nail polish. The great thing about nail polish is that it’s an accessory to any outfit of any color. You can stick to neutrals, play around with pops of color, or try nail designs for fun!

Image by BellaNaija via Pinterest
- The most important step when applying the nail polish color is to make sure each layer is light and thin. Try not to use drops of nail polish on your nails. It’s better to apply three even layers instead of one big drop of nail polish. After application, wait for it to dry for about 10 minutes each hand.
- For quicker wait time, you can use a quick-drying top coat but most times, these are not very shiny. If you want a shiny top coat, it will take longer.
Tips:
- To avoid nail polish chipping, you can create a shield by extending your nail polish color and top coat under your nails. Make sure this is a thin and even layer.
- When washing dishes, use dishwashing gloves.
- Apply your nail polish 2-3 hours before bed. This ensures that the nail polish is dried and that you won’t be using your nails for at least 8 hours.